Grilling chicken legs to perfection is a skill that can turn any backyard cookout into a memorable feast. But how long does it actually take to grill chicken legs? Fret not, as this article unveils the secrets to achieving juicy, flavorful chicken legs on the grill, from marinating tips to the ideal cooking time. Whether you’re a grilling novice or a seasoned pro, read on to discover the foolproof method for creating succulent grilled chicken legs that will have everyone coming back for seconds. Say goodbye to dry and flavorless chicken legs and get ready to elevate your grilling game!
Preparation
Before you dive into the grilling process, it’s important to properly prepare your chicken legs. This will ensure that they turn out deliciously moist and flavorful. Follow these important steps to get your chicken legs ready for the grill.
Choosing the Chicken Legs
When it comes to choosing chicken legs, there are a few things to consider. Look for chicken legs that are fresh and have a deep pink color. Make sure there are no signs of discoloration or a strong odor, as these are indicators of spoiled chicken. It’s also a good idea to opt for chicken legs that are similar in size, to ensure even cooking on the grill.
Trimming and Cleaning the Chicken Legs
Once you have your chicken legs, it’s time to trim and clean them properly. Start by removing any excess fat or skin from the chicken legs. This not only improves the presentation but also prevents flare-ups on the grill. Rinse the chicken legs under cold water to remove any dirt or debris. Pat them dry using paper towels to ensure proper adherence of the marinade and seasonings.
Brining the Chicken Legs
Brining is an essential step that will help your chicken legs stay juicy and tender throughout the grilling process. To brine the chicken legs, dissolve 1/4 cup of salt in 4 cups of cold water. Submerge the chicken legs in the brine and refrigerate for at least 1 hour, or up to 4 hours for maximum flavor. This step enhances the chicken’s natural flavors and ensures moist and succulent results.
Marinating Options
Marinating your chicken legs adds incredible flavor to the final dish. There are several marinade options you can choose from, depending on your taste preferences. Here are a few tried and tested marinades that are sure to make your grilled chicken legs a hit.
Basic Marinade
The basic marinade is a simple yet effective option for enhancing the flavor of your chicken legs. In a bowl, combine 1/4 cup of olive oil, 2 tablespoons of soy sauce, 2 cloves of minced garlic, and a sprinkle of salt and pepper. Mix well and pour the marinade over the chicken legs. Let them marinate in the refrigerator for at least 30 minutes, or up to 2 hours, before grilling.
Citrus Marinade
If you’re looking for a zesty and refreshing flavor profile, a citrus marinade is the way to go. In a bowl, combine the juice of 2 lemons, the zest of 1 lemon, the juice of 1 orange, 2 tablespoons of honey, and a pinch of salt and pepper. Mix well and pour the marinade over the chicken legs. Allow them to marinate in the refrigerator for at least 1 hour, or up to 4 hours, for a burst of citrusy goodness.

Spicy Marinade
For those who prefer a little kick in their grilled chicken legs, a spicy marinade is sure to satisfy your taste buds. In a bowl, combine 1/4 cup of hot sauce, 2 tablespoons of melted butter, 1 tablespoon of chili powder, 1 teaspoon of cayenne pepper, and a pinch of salt and pepper. Mix well and pour the marinade over the chicken legs. Let them marinate in the refrigerator for at least 1 hour, or up to 24 hours, for a fiery and flavorful result.
Equipment Needed
Before you fire up the grill, make sure you have all the necessary equipment on hand. Having the right tools will not only make the grilling process easier but also ensure that your chicken legs turn out perfectly cooked and delicious.
Grill (gas or charcoal)
The most essential piece of equipment you’ll need for grilling chicken legs is a grill. Whether you prefer a gas grill or a charcoal grill, both can produce fantastic results. Gas grills are convenient and easy to use, allowing for precise temperature control. On the other hand, charcoal grills impart a smoky flavor that many grill enthusiasts adore.
Grill brush
To keep your grill grates clean and prevent the chicken legs from sticking, a grill brush is a must-have. Use it to scrape off any remnants of previously cooked food before preheating the grill. This will ensure a clean cooking surface and prevent any unwanted flavors from transferring to your grilled chicken legs.
Tongs
Tongs are an essential tool for handling the chicken legs on the grill. They provide a secure grip and allow you to turn and flip the chicken legs without piercing them. This helps retain the juices and ensures even cooking throughout.
Meat thermometer
To ensure that your chicken legs are cooked to perfection, a meat thermometer is a valuable tool. Insert it into the thickest part of the chicken leg, away from the bone, to check its internal temperature. Chicken legs should be cooked to an internal temperature of 165°F (74°C) to guarantee they are safe to eat.
Preheating the Grill
Before you start grilling your chicken legs, it’s important to preheat the grill properly. This step ensures that the chicken legs cook evenly and achieve that deliciously charred exterior.

Gas Grill
If you’re using a gas grill, preheating is a breeze. Start by turning on all the burners to high and closing the lid. Allow the grill to heat up for about 10 to 15 minutes until it reaches the desired temperature. Once preheated, reduce the heat to medium-high for cooking the chicken legs.
Charcoal Grill
Preheating a charcoal grill requires a bit more time and effort, but the results are worth it. Start by arranging the charcoal in a pyramid shape in the center of the grill. Light the charcoal using a chimney starter or charcoal lighter fluid. Allow the charcoal to burn for about 20 to 30 minutes until it turns gray and ashy. Once the charcoal is ready, spread it evenly across the bottom of the grill and give it a few minutes to reach the desired cooking temperature.
Grilling Technique
Grilling chicken legs requires some finesse to achieve that perfect balance of juicy meat and crispy skin. Understanding the different grilling techniques will help you master the art of grilling chicken legs like a pro.
Direct Heat vs. Indirect Heat
When grilling chicken legs, you have two options: direct heat and indirect heat. Direct heat involves cooking the chicken legs directly over the heat source, while indirect heat involves cooking them away from the heat source.
Direct heat is best for achieving a crispy exterior and grill marks. This method is ideal for smaller, boneless chicken legs that cook quickly. Indirect heat, on the other hand, is perfect for larger, bone-in chicken legs that require longer cooking times. It allows the chicken legs to cook through without burning the skin.
Lid On vs. Lid Off
Another important decision to make when grilling chicken legs is whether to cook with the lid on or off. Cooking with the lid on helps retain heat and creates a convection effect. This results in more even cooking and helps seal in the flavors. However, if you prefer a crispier skin, cooking with the lid off allows for better airflow and promotes browning.
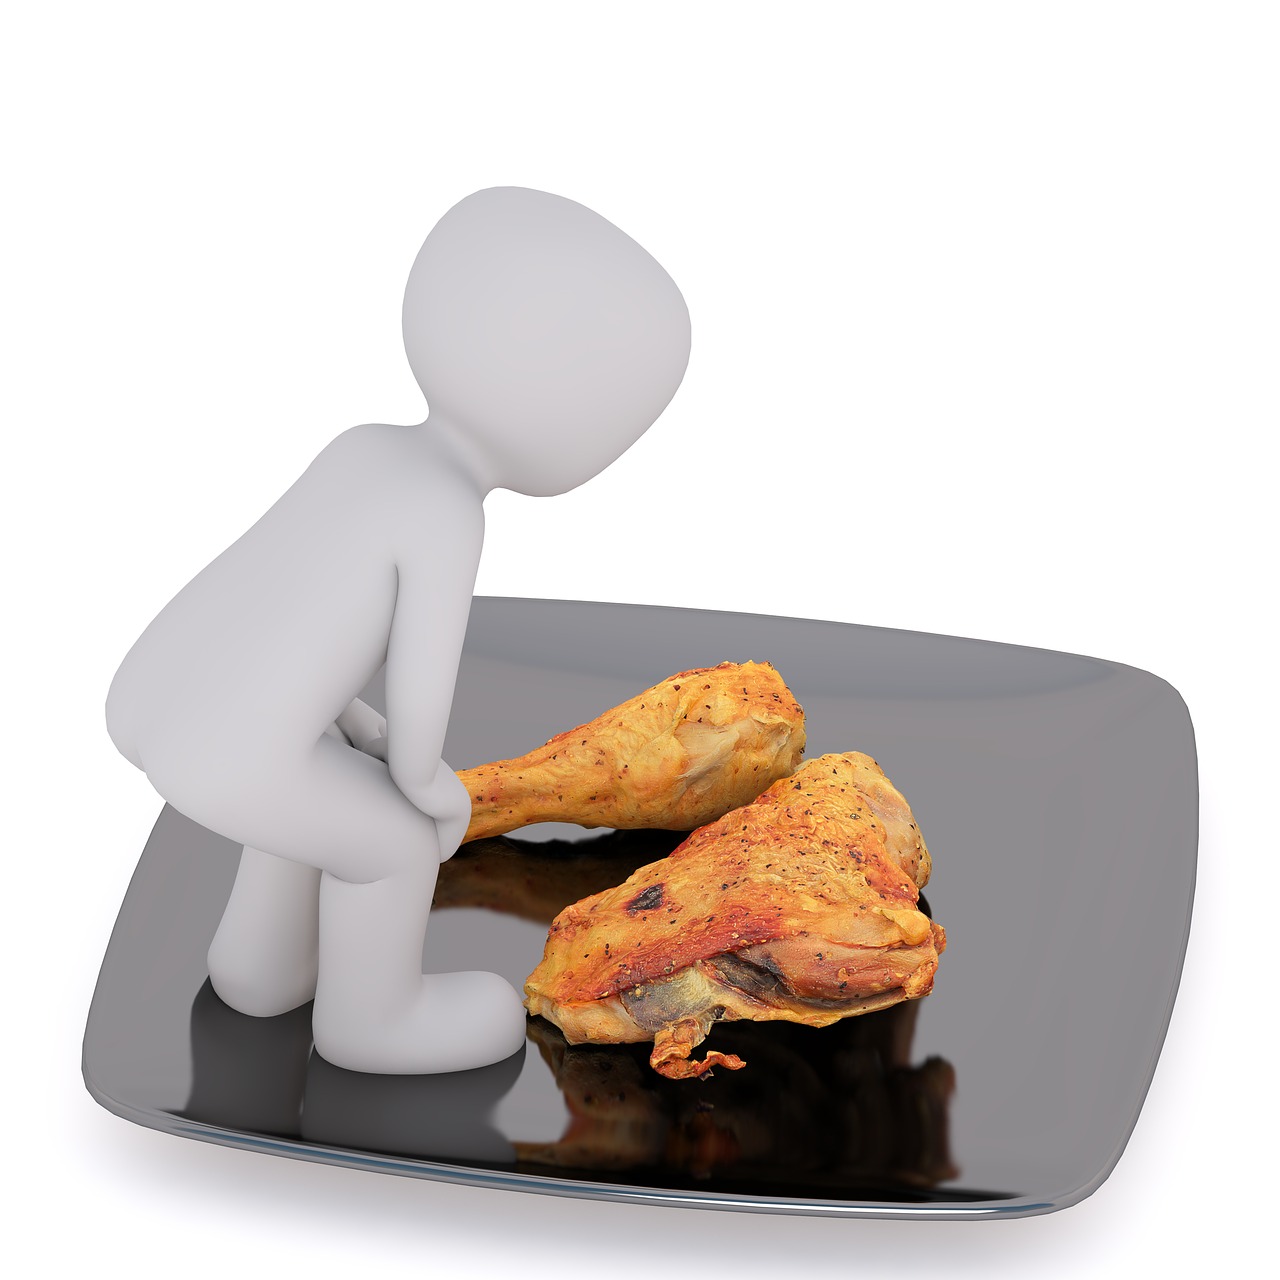
How to Grill Chicken Legs
Now that you’ve prepped your chicken legs and preheated the grill, it’s time to grill them to perfection. Follow these steps for juicy and delicious grilled chicken legs that will leave your taste buds wanting more.
Step 1: Preheat the grill
Before you start grilling, make sure your grill is preheated to the desired temperature. This will ensure that the chicken legs cook evenly and develop that beautiful charred exterior.

Step 2: Season the chicken legs
Remove the chicken legs from the marinade and season them with your desired spices, salt, and pepper. This will add extra flavor and elevate the taste of your grilled chicken legs. Be creative and experiment with different spice blends to suit your taste preferences.
Step 3: Grilling on direct heat
Place the chicken legs on the grate directly over the heat source. If using a gas grill, reduce the heat to medium-high. If using a charcoal grill, spread the hot coals evenly under the chicken legs. Close the lid and grill the chicken legs for about 6 to 8 minutes per side, or until the internal temperature reaches 165°F (74°C). Remember to flip the chicken legs halfway through the cooking process for even browning.
Step 4: Grilling on indirect heat
If you prefer a slower and more even cooking method, you can finish grilling the chicken legs using indirect heat. Move the chicken legs away from the heat source and place them over the cooler side of the grill. Close the lid and continue grilling for an additional 20 to 30 minutes, or until the chicken legs reach an internal temperature of 165°F (74°C).
Step 5: Checking the internal temperature
To ensure that your chicken legs are fully cooked and safe to eat, use a meat thermometer to check their internal temperature. The thermometer should register 165°F (74°C) when inserted into the thickest part of the chicken leg, away from the bone. If the temperature hasn’t been reached, continue grilling for a few more minutes and check again.
Safety Tips
Grilling chicken legs can be a fantastic experience, but it’s important to prioritize safety to ensure a successful and enjoyable cooking session. Follow these safety tips to avoid any mishaps and create a pleasant grilling environment.
Avoiding cross-contamination
To prevent cross-contamination between raw chicken and other foods, it’s crucial to follow proper food safety practices. Keep all surfaces and utensils clean and separate raw chicken from other ingredients. Don’t use the same cutting board or utensils for raw and cooked chicken, and always wash your hands thoroughly after handling raw chicken.
Properly handling raw chicken
When handling raw chicken, it’s essential to take precautions to avoid the spread of bacteria. Keep the chicken refrigerated until you’re ready to grill and don’t leave it at room temperature for an extended period. Additionally, make sure to cook the chicken to the correct internal temperature to eliminate any harmful bacteria.
Avoiding flare-ups
Flare-ups occur when fat or marinade drips into the flames, causing sudden bursts of flames. To avoid flare-ups, trim any excess fat from the chicken legs before grilling. If flare-ups occur, move the chicken legs to a cooler part of the grill or use a spray bottle filled with water to tame the flames.
Common Mistakes to Avoid
To ensure that your grilled chicken legs turn out absolutely perfect, it’s important to avoid these common mistakes that can impact the flavor and texture of the final dish.
Grilling chicken legs straight from the fridge
One common mistake is grilling chicken legs straight from the refrigerator. Allow the chicken legs to come to room temperature for about 15 to 30 minutes before grilling. This will help them cook more evenly and prevent the exterior from drying out while the interior is still undercooked.
Overcooking or undercooking
Timing is everything when it comes to grilling chicken legs. Overcooking can result in dry and tough meat, while undercooking can pose serious health risks. Use a meat thermometer to ensure that your chicken legs reach an internal temperature of 165°F (74°C) to achieve the perfect balance of succulent and safe-to-eat chicken.
Neglecting to rest the chicken legs
Resting the chicken legs after grilling is a crucial step that many people overlook. Allow the chicken legs to rest for 5 to 10 minutes before serving. This allows the juices to redistribute and ensures moist and flavorful results.
Serving Suggestions
Now that your chicken legs are perfectly grilled, it’s time to think about how to present them on the plate. Here are some ideas for serving suggestions to elevate your grilled chicken leg experience.
Garnishing options
Sprinkle freshly chopped herbs, such as parsley, cilantro, or basil, over your grilled chicken legs for a vibrant and aromatic touch. Alternatively, squeeze a wedge of lemon or lime over the chicken legs just before serving for an extra burst of citrusy flavor.
Side dishes
Grilled chicken legs pair well with a variety of side dishes. Consider serving them with grilled vegetables, such as zucchini, bell peppers, or corn on the cob. Creamy coleslaw, roasted potatoes, or a refreshing cucumber salad are also excellent choices to complement the smoky flavors of the chicken.
Sauces or dips
Provide a selection of sauces or dips to accompany your grilled chicken legs. Classic barbecue sauce, tangy honey mustard sauce, or creamy ranch dressing are all crowd-pleasing options. Experiment with different flavors and heat levels to suit your preferences.
Conclusion
Grilling chicken legs is a fantastic way to enjoy a delicious and flavorful meal. By following these steps and tips, you’ll be able to grill chicken legs to perfection every time. From choosing and preparing the chicken legs to mastering the grilling technique and serving suggestions, you now have all the knowledge you need to impress your family and friends with your grilling skills. So grab your tongs, fire up the grill, and get ready to indulge in juicy and succulent grilled chicken legs!