Are you ready to take your grilling skills to the next level? Look no further because “Grilling Ribs: A Step-by-Step Guide” is here to help you become a rib-grilling expert! This article will walk you through the process of grilling ribs, from choosing the right cut to applying the perfect seasoning, and finally, achieving that mouth-watering smoky flavor. Whether you’re a novice griller or a seasoned pro, this step-by-step guide is bound to elevate your rib game and impress your friends and family at your next backyard barbecue. Get ready to fire up the grill and tantalize your taste buds!

Preparation
Choose the Right Ribs
Before you start grilling, it’s important to choose the right type of ribs. There are different cuts available, such as baby back ribs, St. Louis-style ribs, and spare ribs. Baby back ribs come from the top of the rib cage and are known for their tenderness and lean meat. St. Louis-style ribs are meatier and have more fat, making them a popular choice for grilling. Spare ribs are larger and have more connective tissue, which can make them slightly tougher but more flavorful. Consider your personal preferences and the preferences of your guests when choosing the type of ribs to grill.
Remove the Membrane
To ensure the best texture and tenderness, it’s essential to remove the tough membrane on the back of the ribs. This membrane can prevent the seasoning from penetrating the meat and make the ribs chewy. Start by loosening the membrane at one end using a butter knife or your fingers. Once loosened, grip the membrane with a paper towel and peel it off in one smooth motion. If the membrane is particularly stubborn, you can use pliers to get a better grip. Removing the membrane will make a significant difference in the final results of your grilled ribs.
Trim Excess Fat
While a little fat adds flavor and juiciness to your ribs, too much fat can cause flare-ups and result in greasy ribs. Use a sharp knife to trim excess fat from the surface of the ribs, focusing on any thick patches or sections. Be careful not to remove all the fat, as it contributes to the overall taste and moisture of the meat. Aim for a balance between trimming excess fat and leaving enough to enhance the flavor.
Seasoning the Ribs
Seasoning is key to delicious grilled ribs. Prepare a dry rub of your choice by combining spices such as salt, black pepper, paprika, garlic powder, onion powder, and any additional herbs or spices you prefer. Generously coat both sides of the ribs with the dry rub, ensuring that every inch is covered. Gently pat the rub into the meat to help it adhere better. Let the seasoned ribs sit at room temperature for about 30 minutes to allow the flavors to penetrate the meat before grilling.
Preparing the Grill
Choosing the Right Grill
When it comes to grilling ribs, you have two primary options: a charcoal grill or a gas grill. Both can produce delicious results, so it ultimately comes down to personal preference. Charcoal grills provide the classic smoky flavor and offer more versatility in terms of temperature control. Gas grills, on the other hand, are quick to heat up, require less maintenance, and offer consistent temperatures throughout. Consider your grilling experience, convenience, and the flavor profile you desire when choosing the right grill for your ribs.
Setting up the Charcoal Grill
To set up a charcoal grill for grilling ribs, start by removing the cooking grate and ash catcher. Place a chimney starter filled with charcoal briquettes on the charcoal grate. If you prefer a smokier flavor, you can add soaked wood chips to the charcoal. Light the charcoal using lighter fluid or natural fire starters, and let it burn until the coals are covered with ash. Carefully pour the hot coals onto one side of the charcoal grate, creating a two-zone fire.
Setting up the Gas Grill
If you’re using a gas grill, the setup process is straightforward. Simply ensure that your propane tank has enough fuel, and clean the cooking grates with a brush. Preheat the grill by turning the burners to medium-high and closing the lid for about 10-15 minutes. This will allow the grates to heat up evenly and prepare the grill for cooking the ribs.
Preheating the Grill
Regardless of the type of grill you’re using, preheating is crucial to ensure even cooking and to sear in the flavors. With the grill set up and ready to go, close the lid and let the grill preheat for at least 10-15 minutes. This will allow the grates to reach the desired cooking temperature, ensuring perfectly grilled ribs.
Indirect Grilling Method
Creating Indirect Heat Zone
With the grill preheated, it’s time to set up the indirect grilling method for your ribs. For a charcoal grill, this involves placing the ribs on the cooking grate opposite the charcoal, creating an indirect heat zone. This is important because direct heat can cause the ribs to burn or cook unevenly. For a gas grill, turn off the burners on one side and place the ribs on the unlit side. By positioning the ribs away from the flames, you create a gentle, indirect heat that allows for slow and controlled cooking.
Placing a Drip Pan
To prevent flare-ups and maintain moisture during the grilling process, it’s a good idea to place a drip pan filled with water underneath the ribs. This will catch any drippings and help regulate the temperature inside the grill. The water in the drip pan will create steam, which adds moisture to the ribs and helps prevent them from drying out. Make sure the drip pan is large enough to catch all the drippings, and position it underneath the indirect heat zone, directly below the ribs.
Adding Wood Chips for Smoke Flavor
If you want to infuse your ribs with a smoky flavor, adding wood chips to your grill is a great idea. Soak the wood chips in water for about 30 minutes before grilling to prevent them from burning too quickly. Drain the wood chips and place them directly on the charcoal for a charcoal grill, or in a smoker box or aluminum foil pouch for a gas grill. The smoldering wood chips will release aromatic smoke that will enhance the flavor of your grilled ribs.
Direct Grilling Method
Preparing the Coals
If you prefer a slightly charred and crispy exterior on your ribs, the direct grilling method is the way to go. For a charcoal grill, this involves spreading the hot coals evenly across the charcoal grate. This will create a consistent high heat throughout the grilling surface. Make sure the hot coals are evenly distributed to prevent hot spots or uneven cooking. For a gas grill, simply preheat all burners to medium-high and leave them on during the grilling process.
Grilling Ribs Directly
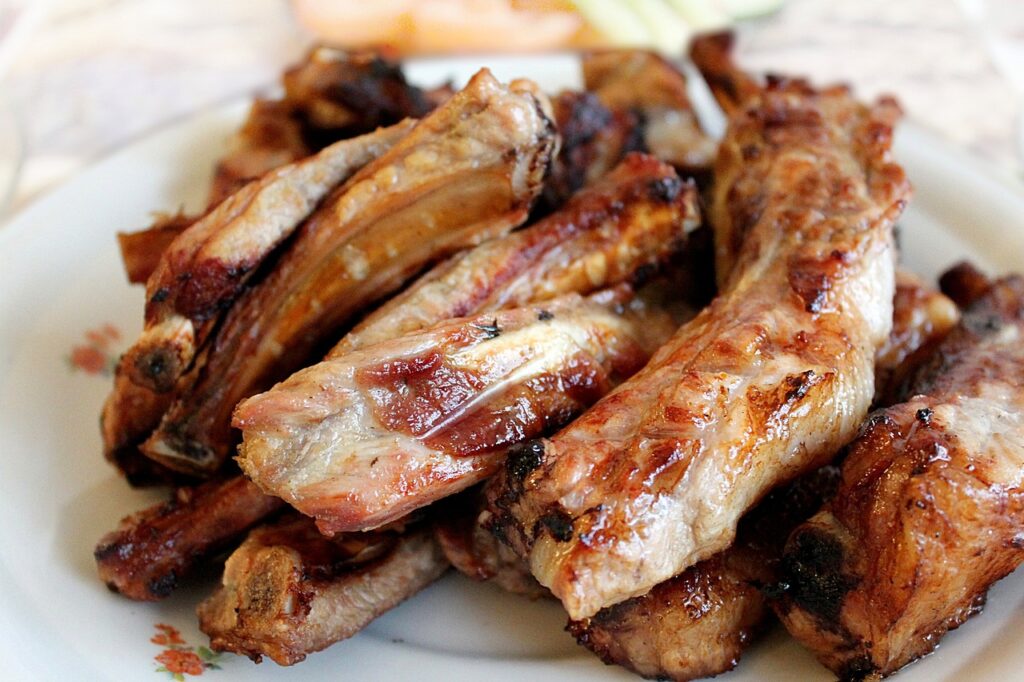
Once the grill is preheated and the coals are ready, it’s time to place the ribs directly on the cooking grate. For both charcoal and gas grills, position the ribs directly over the heat source. Using tongs, carefully place the ribs bone-side down on the grate. Close the lid and let the ribs cook, periodically flipping them to ensure even cooking. The direct grilling method will give your ribs a beautiful sear and caramelization, adding a delicious charred flavor to the meat.
Grilling Time and Temperature
Low and Slow Cooking
Achieving perfectly tender and flavorful ribs requires cooking them low and slow. The ideal temperature range for grilling ribs is around 225-250°F (107-121°C). This low heat takes time to break down the tough connective tissues and render the fat, resulting in tender and juicy ribs. It’s essential to maintain a consistent temperature throughout the cooking process for the best results. If using a charcoal grill, adjust the airflow to regulate the temperature. For a gas grill, adjust the burners as needed to maintain the desired temperature.
Monitoring the Temperature
To ensure that your ribs are cooked to perfection, invest in a reliable meat thermometer. Insert the thermometer into the thickest part of the meat, being careful not to touch the bone. The ideal internal temperature for properly cooked ribs is around 195°F (90°C). Regularly monitor the temperature during the cooking process to avoid overcooking or undercooking the ribs. Remember, cooking times can vary depending on the size and thickness of the ribs, so it’s important to use the thermometer as your guide.
Basting and Sauce
Applying Basting Sauce
Basting your ribs with a flavorful sauce can add an extra layer of taste and moisture. After the first hour of cooking, begin basting the ribs with your preferred sauce using a brush or mop. Apply a generous amount of sauce to both sides of the ribs and continue to baste every 15-20 minutes. The heat of the grill will caramelize the sauce, creating a sticky and flavorful glaze on the ribs. Make sure to reserve some sauce for the final basting towards the end of the cooking process.
When to Apply BBQ Sauce
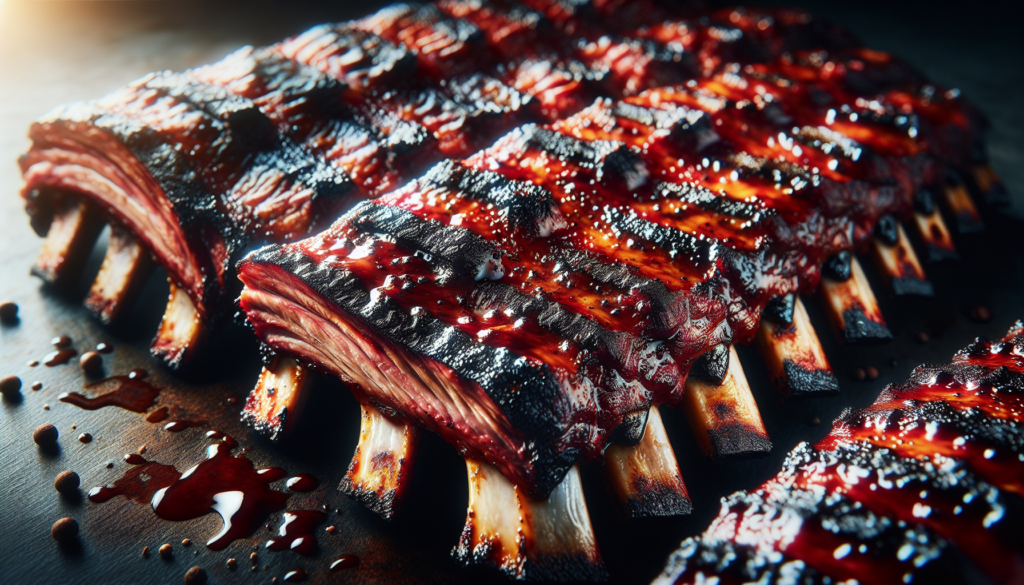
If you’re using a BBQ sauce in addition to a basting sauce, it’s essential to time its application properly. Adding barbecue sauce too early in the cooking process can cause the sugars in the sauce to burn and create a bitter taste. To avoid this, wait until the last 30-45 minutes of cooking before applying the barbecue sauce. This will allow the sauce to caramelize without burning, resulting in a tangy and delicious coating on your grilled ribs.

Checking Doneness
Using a Meat Thermometer
As mentioned earlier, using a meat thermometer is the most accurate way to determine the doneness of your ribs. Check the internal temperature of the meat in multiple spots, making sure not to touch the bone. When the ribs reach an internal temperature of around 195°F (90°C), they are ready to be taken off the grill. The meat should be tender and easily pull away from the bone without being mushy.
Visual Indicators of Doneness
In addition to using a meat thermometer, there are visual cues that can help you determine if your ribs are done. The meat should have pulled back from the bones, exposing more bone surface. Additionally, the edges of the meat should start to shrink, and the bones should be easily visible. When you gently twist a bone, it should turn easily in the meat. These visual indicators, along with the proper internal temperature, will ensure that your ribs are perfectly cooked and ready to be enjoyed.
Resting and Serving
Resting the Ribs
Resting the ribs is a crucial step that allows the juices to redistribute and the meat to become more tender. Once the ribs are cooked to perfection, remove them from the grill and loosely tent them with aluminum foil. Let the ribs rest for about 10-15 minutes before slicing and serving. This short resting period will help the ribs retain their moisture and result in a more flavorful and succulent eating experience.
Slicing and Serving the Ribs
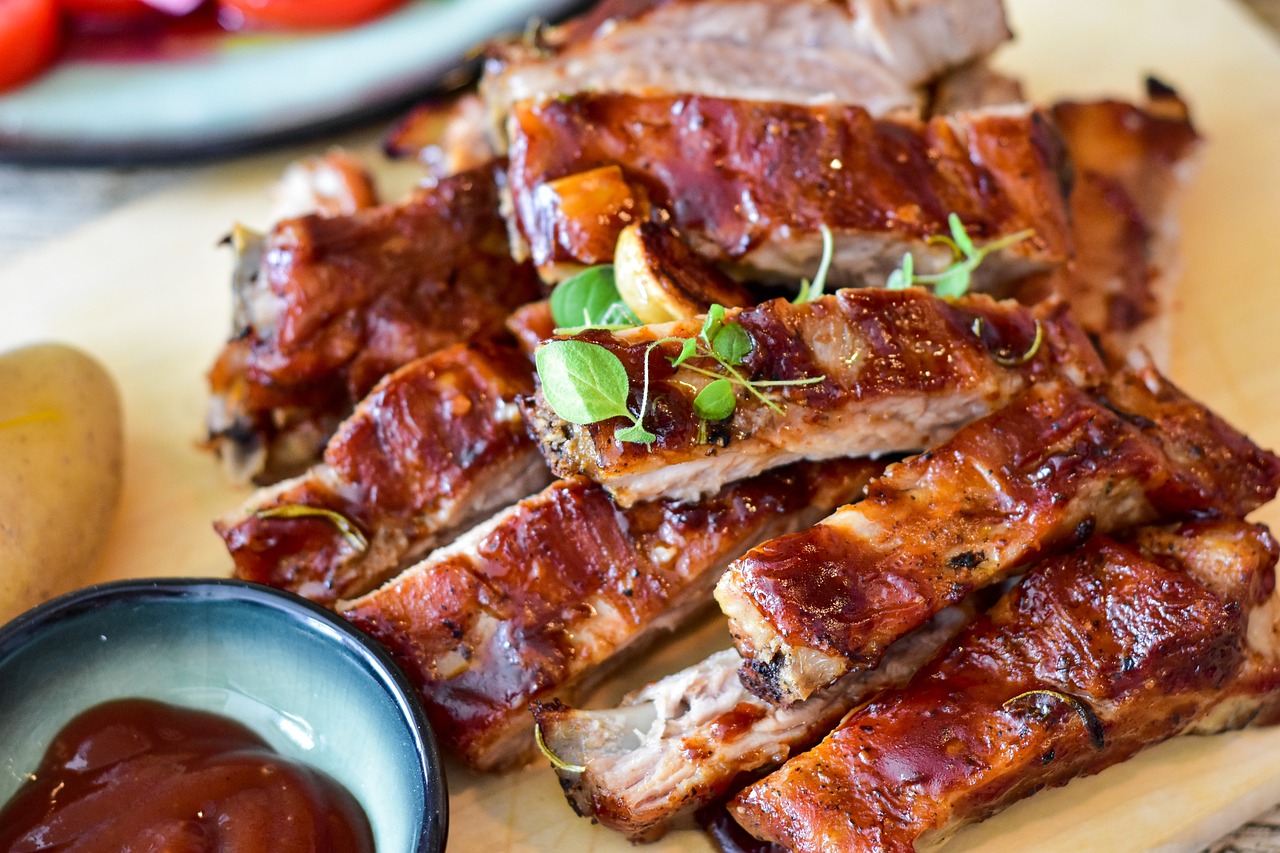
After the resting period, it’s time to slice and serve your delicious grilled ribs. Use a sharp knife to cut between the bones, creating individual ribs or smaller portions. Serve with your favorite side dishes, such as coleslaw, cornbread, or grilled vegetables. Whether you prefer to serve your ribs dry or with a side of barbecue sauce, remember to provide napkins and enjoy the finger-licking goodness you’ve just created!
Troubleshooting
When the Ribs are Tough
If you find that your ribs are tough instead of tender, it could be due to undercooking or inadequate heat control. Ensure that you’ve cooked the ribs for a sufficient amount of time at the proper temperature. If the ribs are still tough, you may need to increase the cooking time and lower the heat for future attempts. Paying attention to the internal temperature and visual cues mentioned earlier will help you determine the optimal cooking time for tender ribs.
When the Ribs are Dry
Dry ribs can be a result of overcooking or insufficient moisture during the grilling process. To prevent dryness, make sure you’ve followed the steps for indirect grilling, using a drip pan and water to create steam. Additionally, basting the ribs regularly with sauce or mop will help retain moisture. If you’ve followed all the steps, but your ribs still turn out dry, consider marinating the ribs before grilling or using a brine to infuse them with moisture.
Tips and Tricks
Prevent Flare-Ups
Flare-ups can occur when fat or marinade drips onto the hot coals or burners. To prevent flare-ups, make sure to trim excess fat from the ribs and regulate the temperature of the grill. Keep a spray bottle filled with water nearby to quickly extinguish any flare-ups that may occur. It’s also important to position the ribs away from direct heat to minimize the chances of flare-ups.
Using a Rib Rack
Using a rib rack can be a game-changer when grilling ribs. A rib rack allows you to stand the ribs upright, maximizing the cooking surface and ensuring even heat distribution. It also prevents the ribs from sticking to the cooking grates and makes flipping and handling easier. If you frequently grill ribs, investing in a rib rack can greatly improve your grilling experience.
Experiment with Different Rubs and Sauces
Grilling ribs is a versatile cooking method that allows for endless flavor combinations. Don’t be afraid to experiment with different dry rubs, marinades, and sauces to find your favorite combination. Whether you prefer a spicy rub, a tangy barbecue sauce, or a sweet glaze, the possibilities are endless. Keep a record of your favorite recipes and techniques, and enjoy the journey of discovering your own signature grilled ribs.
In conclusion, grilling ribs is a process that requires preparation, patience, and attention to detail. By following the step-by-step guide outlined above, you’ll be well-equipped to create delicious and mouthwatering ribs every time you fire up the grill. Remember to choose the right type of ribs, remove the membrane and excess fat, season them generously, and prepare your grill using the appropriate method. Whether you opt for indirect grilling for tender and succulent ribs or direct grilling for a crispy exterior, monitoring the temperature and applying basting and barbecue sauce at the right time will ensure delectable results. With a little practice and the tips and tricks provided, you’ll become a master of grilling ribs, delighting your friends and family with your culinary prowess. So fire up the grill, grab your apron, and get ready to enjoy some finger-licking goodness!
